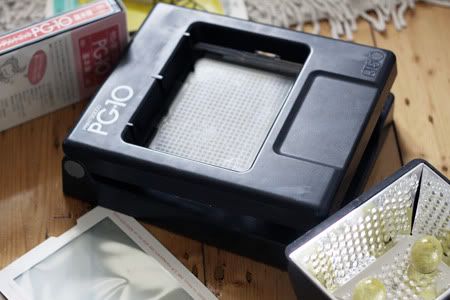
Well when I got my little gocco machine (PG-10, which is a discontinued model), I as really excited, as I had wanted to do gocco printing for a while, but I discovered all the packaging and instructions where in Japanese!!
Life got a bit busy and so I had to put the gocco experiments on hold. In the meantime I did a bit of research to try and work out how to decipher the whole thing. So now that I have finally got the hang of it, I thought I'd share some tips and tricks (including some Aussie secrets), as it took me a while to figure it all out, and its really quite simple.
I downloaded the English instruction manual for the PG-11 on the
Nehoc site, which is a very helpful site, and it is Australian. The also sells all the supplies and has tutorials, the works! So I won't go into full details, just my tips.
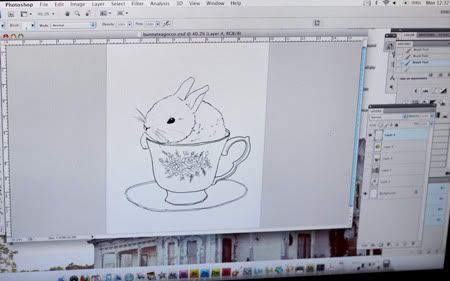
Start by creating your design. The final image has to be black and white and carbon based. This means you can create it on the computer and print it b&w laser, you can photocopy it, or you can draw it by hand using a special gocco carbon pen. Make sure the design is small enough to comfortably fit the screen. My machine does 10x15cm. I think this is a fairly common gocco size.
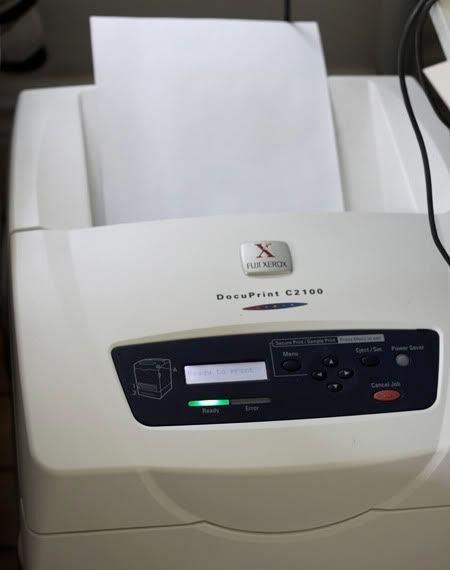
If you print it off, be sure it is laser and set to the black and white settings.
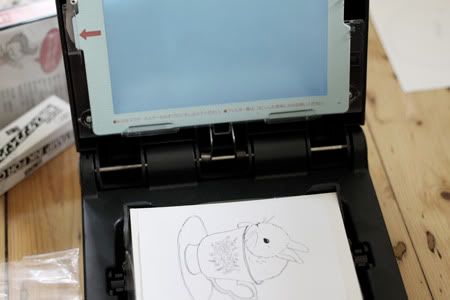
Cut the image down to size and place on the print table. Slide you screen into the top part and make sure you put the blue filter behind it. So the sandwich is; glass screen, blue filter, master screen, image, print table/bed.
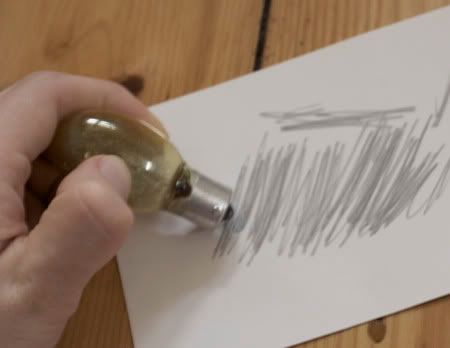
Ok globes are the interesting, and confusing bit. They are flash globes, which means they only last one use. And the crazy thing is, you can end up with duds as I found, though if you are clever you can spot them, and perhaps even fix them. Ok so you get out two globes, you then rub the end of the globe on paper (like in above image) you will notice what looks like lead pencil come off, this is supposed to improve contact.
If you want to see if your globe are ok, you will need to test the electrical resistance, so if you happen to own something to test this, it is rather handy. (such as an ohm meter or multimeter) If it seems like a dud, try shaking it to move the insides around, and if your lucky it'll work again.
If you don't have anything to test it, just be sure to do the rubbing thing and hope for the best, and then cry if it doesn't work :(
The next step is to put the globes into the lamp house, and then attach it to the printer. Then press the lid down hard, the globes will flash and make a crackling noise, when they stop, lift the lid. Don't touch the globes, they will be hot!
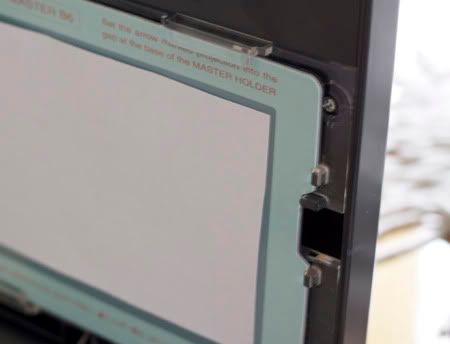
So this is when the magic happens! When you lift the lid, you will notice the image has stuck to the screen. Carefully take the screen out of the machine, dont remove the image just yet.
Some people recommend leaving it on, so you can see the design when you in it up, but I dont really think it is necessary, so just peel it off.
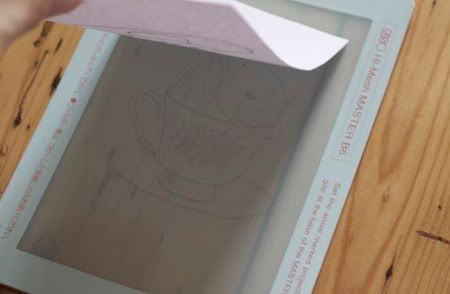
YAY! my bunny :)
So lets get printing!!!!This is how I printed on fabric, the same principles apply to paper, but you use different ink. I found most tutorials focus on paper, so I wanted to share my fabric experience.
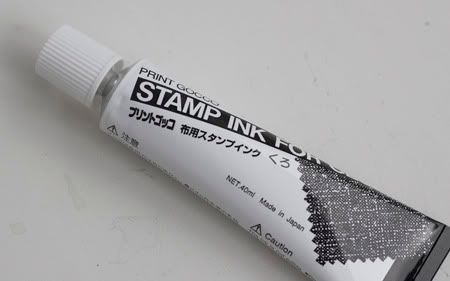
To print on fabric you have to use the special 'stamp ink for cloth' this can be purchased at Eckersleys,
Nehoc or on etsy/ebay. Eckersleys actually sell a lot of the equipment, inluding little PG-5 printers, so if your an Aussie, its good to know you can easily ge the stuff local. If you are too lazy to leave the house,
Nehoc sells it all too, and being an Aussie site, makes it cheaper to ship. Though when looking for an actual printer, you can get good deals on second hand machines on etsy and ebay.
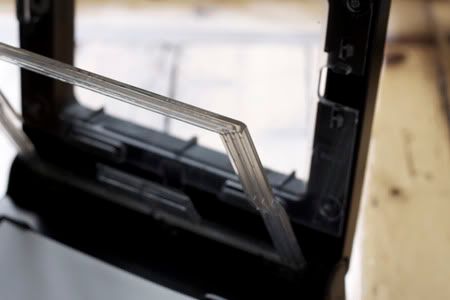
So to start, you will need to put the plastic printing frame into the machine, this holds the fabric down tight when you print, making it smoother for printing.
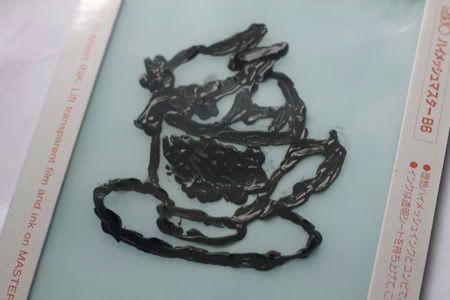
Lift the plastic cover on the screen and ink up the screen, just carefully squeezing around the design. Once you are done, put the plastic sheet back down over it.
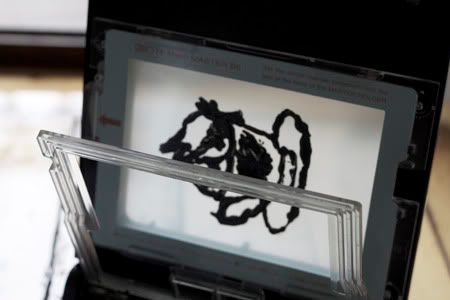
Now slide the screen make into the machine. Make sure its facing the right way or youll end up making a mess and getting ink on the glass and not on the fabric.
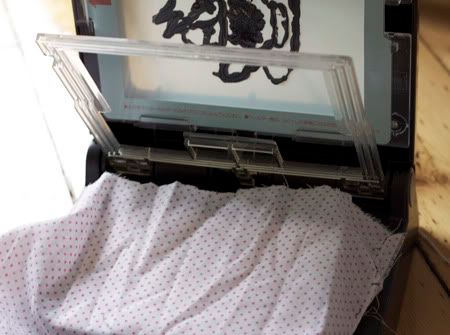
Place your fabric down on the bed, its easier if you cut it to a smaller size and iron it (unlike my crinkly test piece above) . Its always good to do a test one first, incase you have too much or not enough ink.
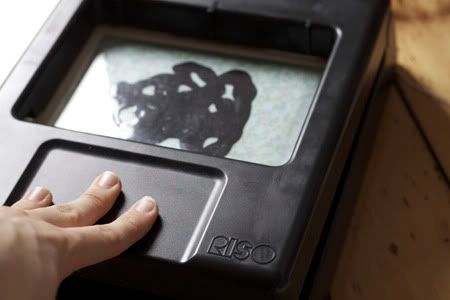
Press down firmly, if you dont push it down hard it will not fully work.
You may find you have to experiment a lot, an may get some duds. I found you can get about 3-4 prints before you need to start topping up the ink.
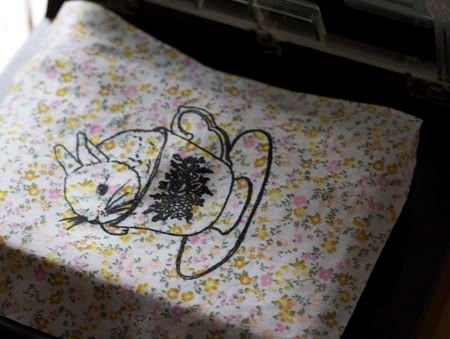
Hey presto! we have a bunny print on fabric! It is possible to print without using the machine, but a squeegee instead ( a bit like screen printing) , or you can by special gocco stamps too.
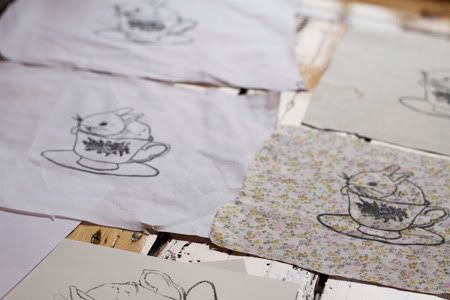
Go crazy!!! As for cleaning the screen when you are done, dont wash it, or itll buckle when it dries, use the gocco cleaning stuff and/or carefully clean it off with tissue. It is also possible to leave the ink on and keep it in the fridge for next time.
Hope this helps or inspires you to have a go at gocco, its lots of fun!Stay tuned to see what I make with my cute bunny prints.
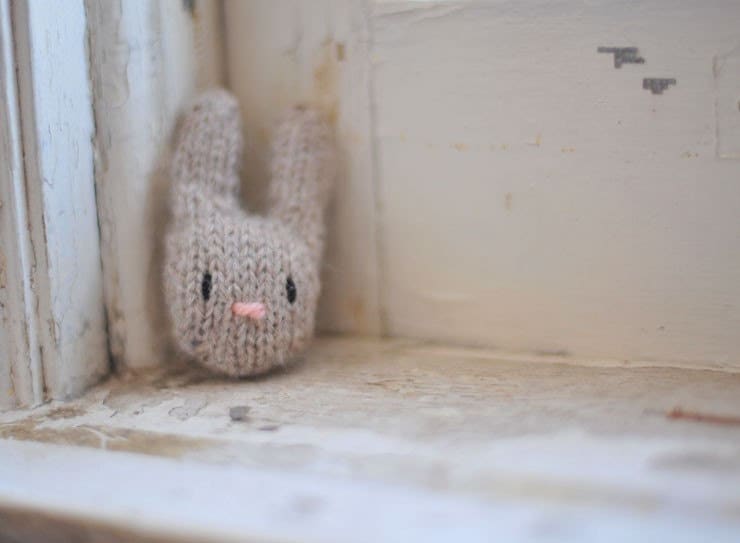











 Biscuit Bunnies from Flying Star Toys
 Because i am in a bunny mood today, I thought todays item would be this cute biscuit bunny by an Aussie designer Flying Star Toys
 Biscuit Bunnies! They're the most delightful guests to have over to tea but you'll have to watch that they don't hop into the tea-cups. When they're not investigating the blend you prefer they like to sit quietly listening to the wind in the trees, thinking on buttons and balls of string.- This one is oatmeal cream :)
 Ipod nano case, by Satu-San
 BLACK WHITE AND PINK Fifi wears Chanel art print, $25 by Fifi Lapin
 Little Lacy Bunny, $20 by Dotty Parade
 I'm working at the shops tonight (Thursday night shopping), I bet the Salvation Army band will be playing right next to our store, they do it every year during December. It makes it hard to hear the customers, but it does create a Christmasy atmosphere to the shops, which is hard to achieve when it is a hot summer night.


